
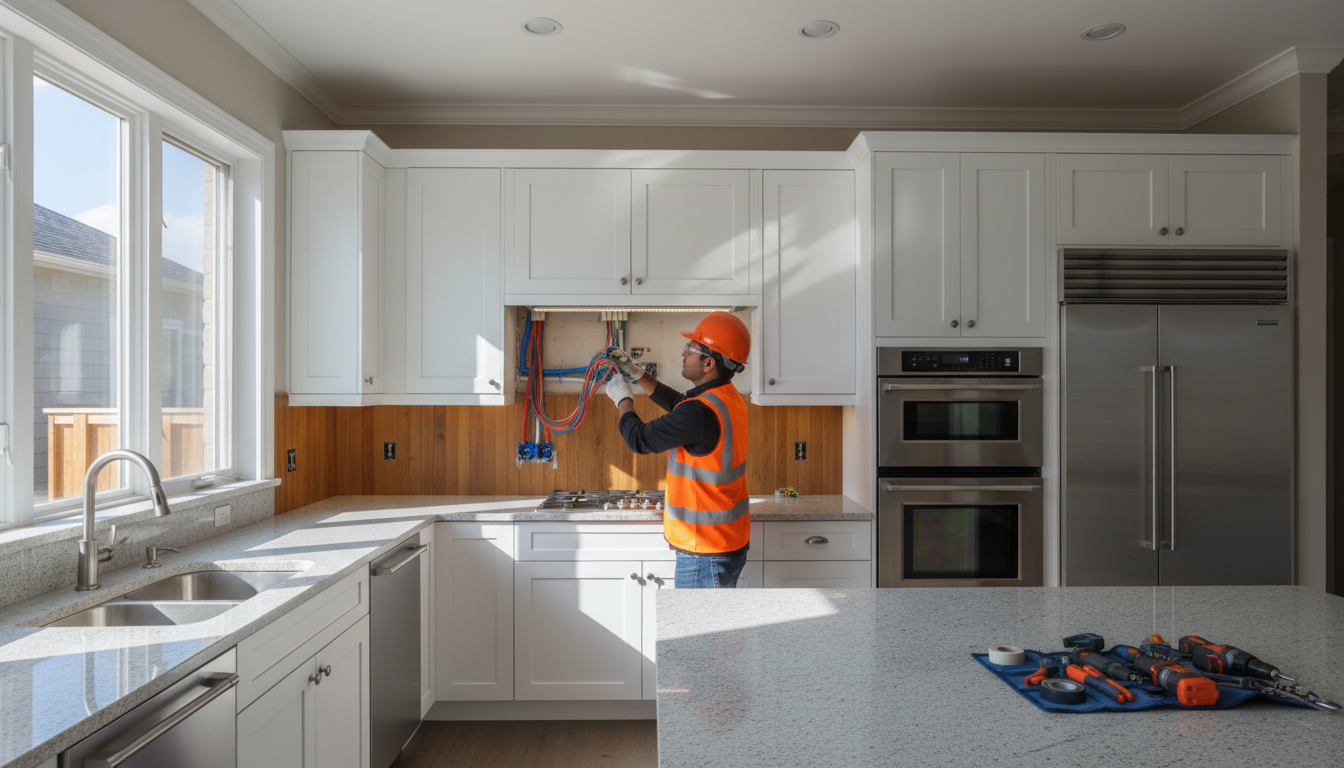
Completing your plastering before kitchen fitting Edinburgh ensures a smooth, level surface for cabinets and prevents damage to new cabinetry from wet plaster. This sequence allows for necessary electrical and plumbing work to be hidden behind the walls before the final skim coat is applied; providing a professional finish for your renovation.
Investing thousands in a bespoke kitchen for your Edinburgh home only to find the cabinets sitting flush against uneven, crumbling walls is a frustration every homeowner wants to avoid. It is a common pitfall that often leads to visible gaps, compromised structural integrity, and unnecessary delays during the final installation. At PlasterTec Edinburgh, we believe that a premium kitchen deserves a premium foundation, which means prioritizing professional plastering well before the first unit is ever delivered. In this guide, we detail the essential sequence of a successful renovation, drawing on a recent local project to highlight why the strip out phase is the critical moment for wall preparation. You will learn about the golden rule of sequencing, the reality of drying times in our Scottish climate, and how to tackle specific period features like Artex or decorative coving to ensure a flawless finish.
The Golden Rule: Why You Must Plaster Before the Units Arrive
Establishing the correct sequence is the most critical decision in any kitchen renovation. Homeowners often ask if they should wait until the cabinets are in place to skim the walls, but the expert consensus is clear: always plaster before the units arrive. Completing your plastering before kitchen fitting Edinburgh ensures that your joiners are working with perfectly flat, plumb walls. This is particularly vital in local properties where walls are rarely straight; a level surface is necessary for hanging wall cabinets and ensuring a seamless fit for stone splashbacks or tiled upstands.
From a practical standpoint, plastering is a wet and abrasive trade. It involves heavy buckets, hawk and trowel work, and fine dust during the prep stage. You do not want wet gypsum or splashes of PVA anywhere near expensive new granite worktops or bespoke cabinetry. By engaging professional plastering services in Edinburgh after your first-fix electrics and plumbing are recessed but before the kitchen is installed, you avoid the risk of damaging high end finishes. Furthermore, plastering the entire room creates a continuous, sealed surface. This prevents unsightly gaps behind integrated appliances and ensures there are no missed spots that could lead to issues with heat retention or dust accumulation behind the units.
A Typical Edinburgh Kitchen Project: From Strip-Out to Smooth Walls

To illustrate how this works in practice, consider a recent project we completed in a Marchmont tenement. Like many Victorian properties in the city, the kitchen featured a mix of original lath and plaster and solid stone internal walls. The homeowner was moving away from a dated 1990s layout to a modern, handleless design that required perfectly straight lines to accommodate integrated appliances and stone worktops.
The process began on a Monday with the strip-out. As the old units and heavy wall tiles were removed, large sections of the original lime plaster came away with the adhesive. This is a common sight in Edinburgh homes; decades of moisture and heat in a kitchen environment often cause the plaster to lose its bond with the masonry or laths behind it. By Tuesday, the electricians and plumbers had completed their first-fix work. This involved chasing, or cutting channels, into the walls to hide new wiring for an induction hob and additional socket points, leaving the room looking like a construction site.
On Wednesday morning, PlasterTec arrived to begin the professional plastering services in Edinburgh that would bridge the gap between demolition and installation. Our first task was to stabilize the crumbling areas. We removed any remaining loose material and applied a high-grip bonding agent to the exposed stone and brickwork. Because tenement walls are notoriously uneven, we used a heavy backing plaster, known as bonding, to fill the deep chases and level out the recesses where the old laths had failed.
Once the backing coat had firmed up, we applied two coats of multi-finish skimming across the entire room, including the ceiling. This created a uniform, glass-smooth surface from floor to ceiling. By following this sequence, we ensured that when the new cabinets arrived, the joiners had a plumb, square corner to work into. The result was a seamless installation where the tall larder units sat flush against the wall. This demonstrates why plastering before kitchen fitting Edinburgh is the industry standard for high quality renovations; it provides a clean slate that makes every subsequent trade's job easier and more precise.
The Ideal Renovation Sequence for Edinburgh Homeowners

To achieve a high-end finish in a local renovation, following a specific order of work is essential. This sequence prevents trades from getting in each other’s way and protects your investment in new materials.
Strip-out and demolition: Remove all old cabinetry, appliances, and floor coverings. For many Edinburgh homes, this is the critical moment to check for damp or historic leaks behind old units, particularly in ground floor flats or tenement kitchens with external stone walls.
Structural changes: If you are removing a lath and plaster partition wall to create an open plan space, ensure all lintels are installed and signed off by building control before any finishing work begins.
First-fix plumbing and electrical: All new pipework and cabling must be recessed into the walls. Ensure your electrician has set the back boxes to the correct depth to allow for the thickness of the new plaster.
Plastering (ceilings and walls): At this stage, PlasterTec applies the professional plastering services in Edinburgh required to level the room. This includes bonding out deep cable chases and applying a two-coat skim finish across all surfaces.
Drying time: This is a non-negotiable pause in the schedule. The walls must transition from a dark brown to a uniform pale pink before the next stage.
Kitchen fitting: With the walls now plumb and flat, the cabinetry and worktops can be installed with precision.
Second-fix: Sockets, switches, taps, and appliances are fitted and commissioned.
Executing plastering before kitchen fitting Edinburgh allows for a seamless transition between these stages. It ensures that the joiners are not battling uneven surfaces when trying to align expensive cabinetry; a common frustration when working in older properties.
How Long Does Plaster Take to Dry Before Fitting a Kitchen?
The question of how long plaster takes to dry is a primary concern for homeowners coordinating multiple trades. While a fresh skim coat often transitions from dark brown to a pale pink within 48 to 72 hours, looking dry is not the same as being fully cured. In our experience providing professional plastering services in Edinburgh, we find that the city’s humid coastal air and the density of traditional stone tenement walls can significantly extend drying times compared to modern builds.
For a standard two-coat skim, you should allow at least 3 to 5 days before proceeding. However, if your kitchen required heavy bonding or backing plaster to level out significant undulations in the masonry, this timeframe can extend to 14 days. Bolting heavy wall units onto plaster that is still holding internal moisture can cause the finish to crack or fail under the weight of the cabinetry.
A vital, yet often overlooked, step is the mist coat. You must apply this initial thinned layer of paint to seal the new plaster before the kitchen units are installed. If you skip this, the raw plaster behind the units remains porous and unsealed, making it susceptible to moisture in a high-humidity environment. Rushing this stage risks the integrity of the finish; patience here ensures the longevity of your plastering before kitchen fitting Edinburgh. If you are unsure about the moisture levels in your walls, you can contact our local plasterers for specific advice on your property type.
Special Considerations: Artex Removal and Coving in Edinburgh Kitchens

Edinburgh’s diverse housing stock, ranging from Georgian New Town properties to mid-century builds in areas like Leith, presents unique aesthetic challenges when preparing for a new kitchen. A recurring issue we encounter in local renovations is the presence of textured Artex ceilings. If your kitchen was last modernised between the 1960s and 1990s, there is a high probability of finding this finish. Because older Artex can contain asbestos, we strongly recommend safe Artex ceiling removal or overboarding with new plasterboard before any units are installed. Overboarding is often the most efficient method in these kitchens. It provides a stable, flat surface for a fresh skim and effectively hides any underlying structural cracks common in older ceilings.
Beyond the ceiling finish, the transition between wall and ceiling is a crucial aesthetic choice. In period properties, original Victorian or Georgian cornices may have been damaged by decades of steam and grease, or even cut through during previous poorly executed renovations. As part of our professional plastering services in Edinburgh, we assess whether to repair these historic features or replace them with a contemporary alternative. For a modern, minimalist kitchen, many homeowners now opt for a shadow gap or a clean, square-set finish that allows tall larder units to sit perfectly flush against the ceiling line.
Selecting your decorative finish during the plastering before kitchen fitting Edinburgh phase is vital. Once the cabinetry is in place, it becomes nearly impossible to run new coving or perform intricate repairs without risking damage to the new wall units. If you are unsure if your traditional ceiling features can be saved or if they need to be removed to accommodate the new layout, contact our local plasterers for an expert assessment of your property's plasterwork.
How to Prepare Your Kitchen for the Plasterer
Efficiently preparing the site saves time and ensures the highest quality finish for your walls. Before our team arrives to carry out plastering before kitchen fitting Edinburgh, the kitchen must be completely clear. We require unobstructed access to every wall from floor to ceiling. This means removing all temporary shelving, old pipe clips, and any debris left from the demolition phase.
One of the most important tasks for a homeowner is the removal of old tile adhesive. While we handle the bonding and skimming, old mortar nibs or thick patches of bitumen and adhesive are often brittle; they can break away under the weight of new plaster or cause unsightly bumps in the finish. Scraping these back to a relatively flat masonry surface prevents future delamination. Regarding electrics, ensure your electrician has securely fixed the back-boxes into the wall chases, but keep the faceplates removed and wires safely tucked inside. This allows us to plaster flush to the box, which results in a tidy, professional finish when the sockets are later installed.
Protecting the floor is equally vital. Even if you plan to replace the flooring as part of the renovation, covering the current surface with heavy duty Cordek or thick plastic sheeting prevents wet gypsum from being tracked into the rest of the property. We take care of the technical preparation, including the application of professional bonding agents like Febond Blue Grit or PVA to manage surface suction on old Edinburgh stone or brickwork. If you have specific questions about the state of your walls after a strip out, you can contact our local plasterers for a site assessment to ensure everything is ready for a professional finish.